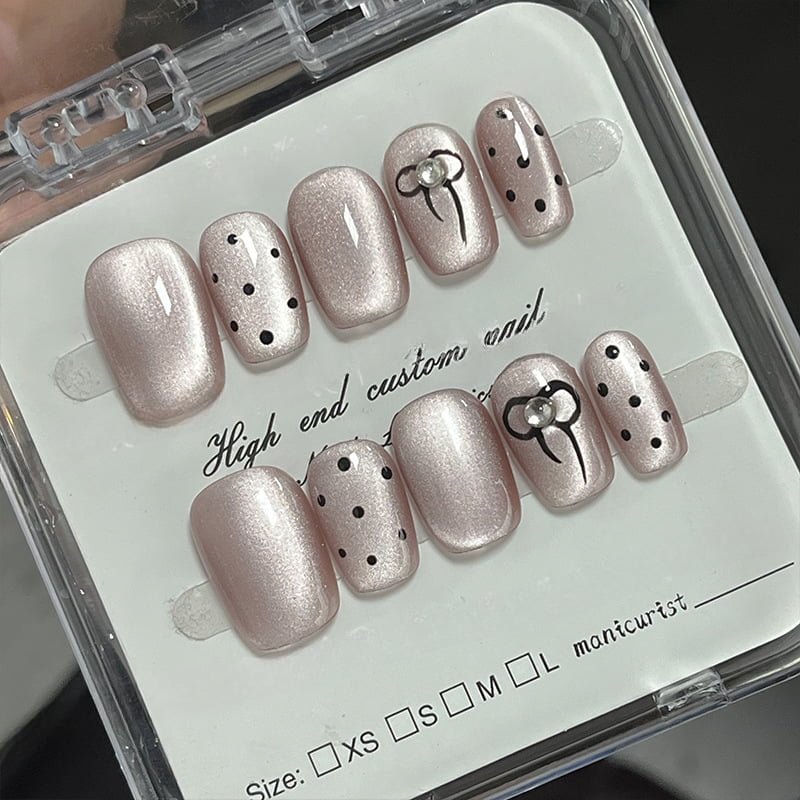
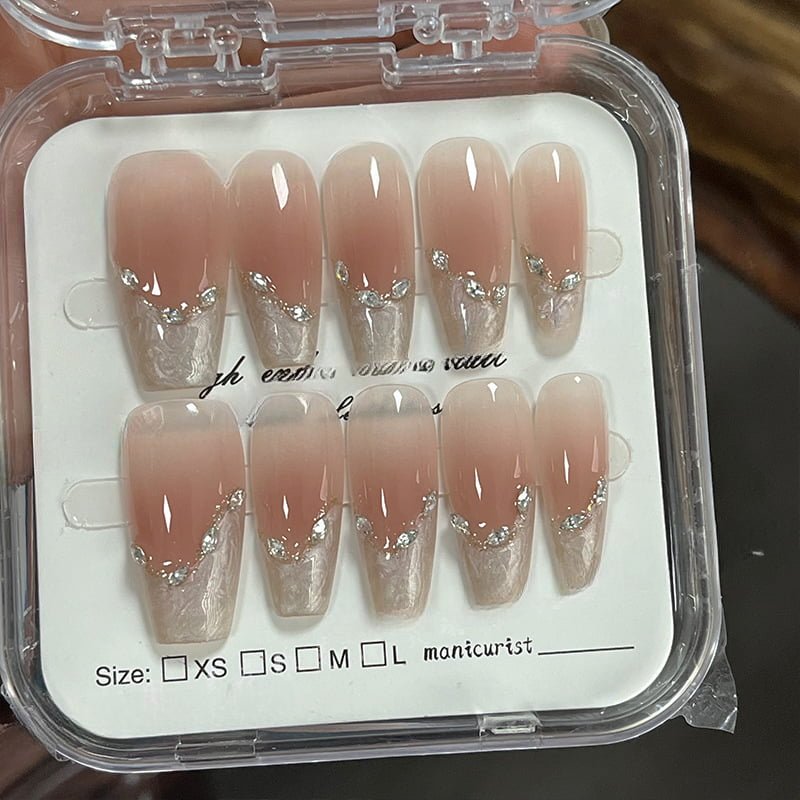
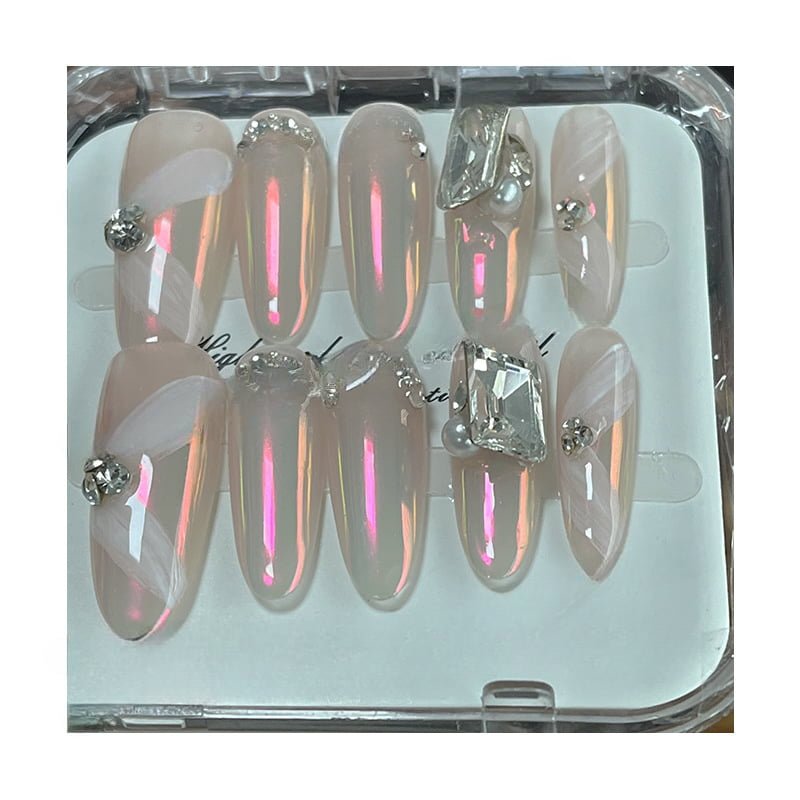
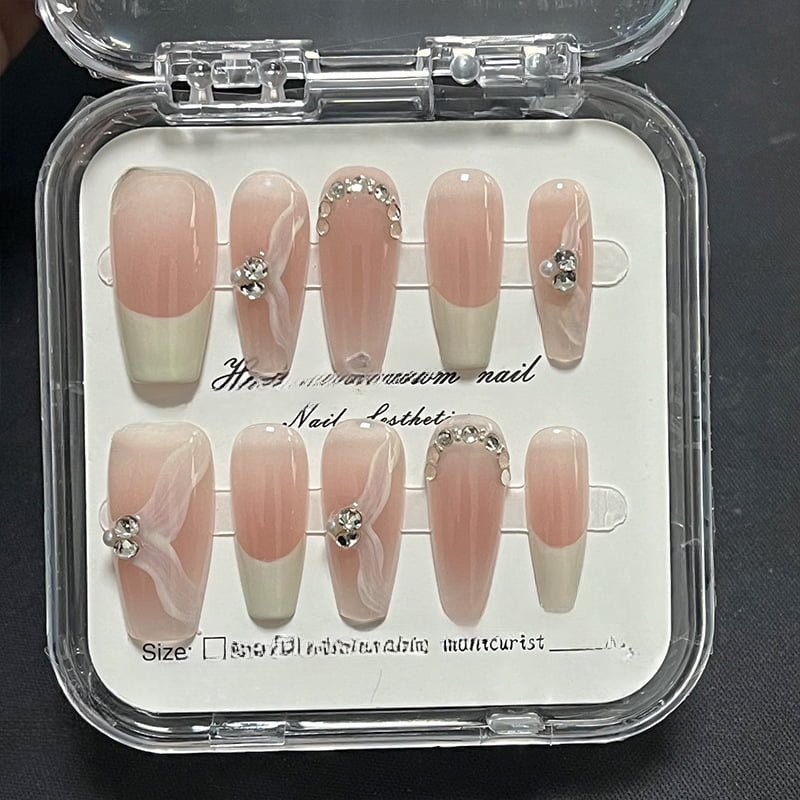
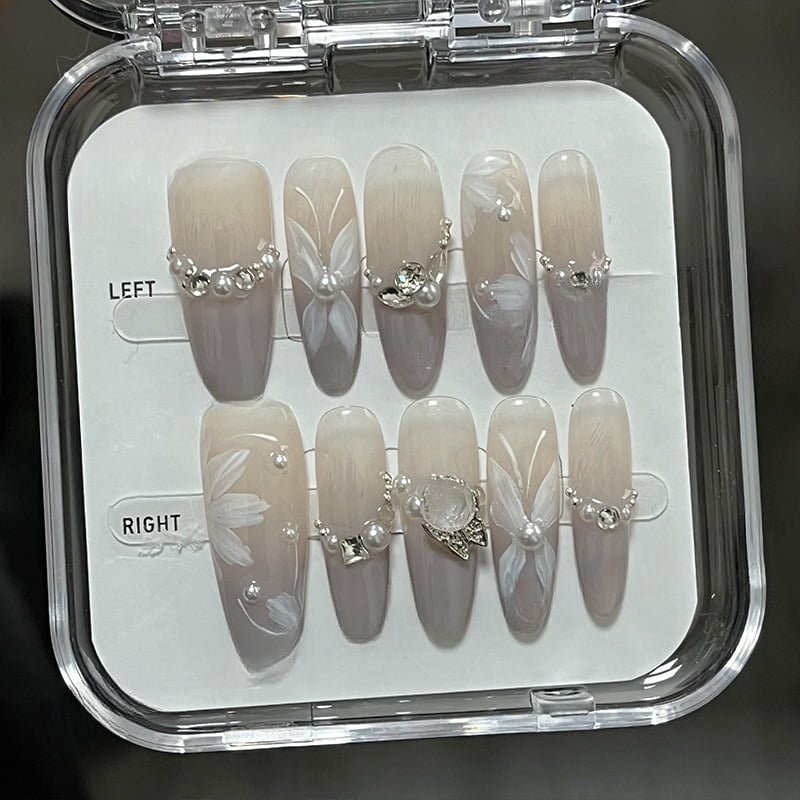
What’s Included with Your Purchase
Each set of press-on nails comes with three adhesive stickers, a wooden stick, and the nails. The adhesive stickers are made of natural resin combined with acrylic glue, ensuring they hold for over 10 days. They are waterproof and secure, offering a simple, hassle-free application process. Simply peel and stick! The wooden stick is designed to help remove the nails when you’re ready to take them off.How to Apply Your Press-on Nails
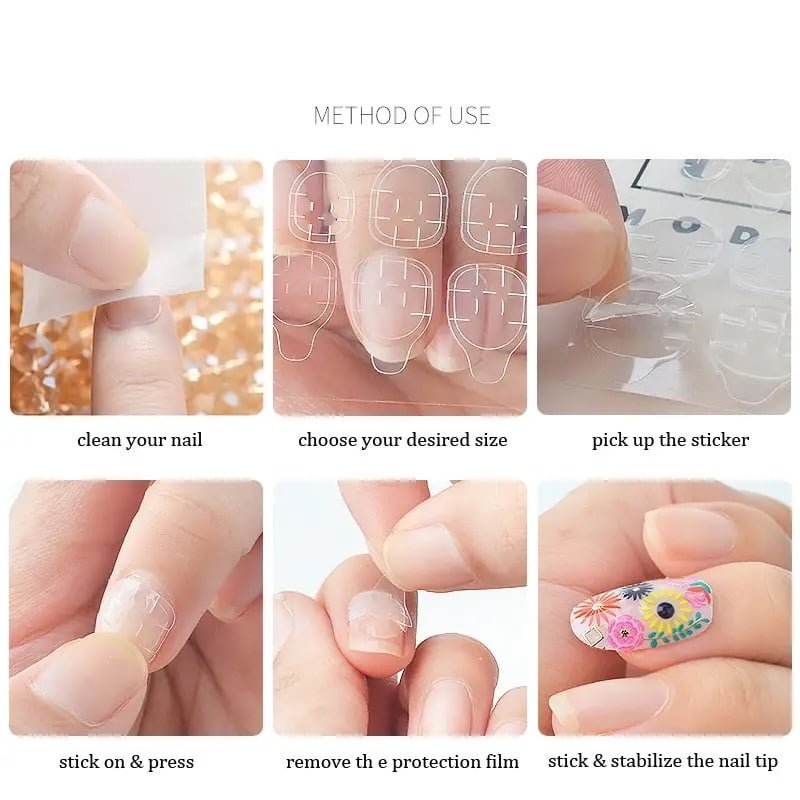
- Before applying, make sure to clean your hands thoroughly with hand soap to remove any oils and ensure your fingers are free of cuts.
- Take out the adhesive stickers, peel off the protective film, and choose the size that fits your nails.
- Once selected, apply the sticker to the nail, pressing down firmly on the kraft paper to remove any air bubbles between the glue and the nail surface.
- After pressing, peel off the kraft paper film. Then, take the corresponding press-on nail, leaving about a 1mm gap from the cuticle. Gently push it back towards your nail to eliminate the gap.
- After the nails are applied, avoid water for the first 2 hours to ensure a secure bond. During this period, minimize pressure on the nails. Once 2 hours have passed, you can use the nails normally—opening bottle caps and performing other tasks.
Key Application Tips:
- Ensure there are no air bubbles between the adhesive and the nail before applying the press-on nail.
- Wait at least 2 hours before exposing your nails to water.
How to Remove Your Press-on Nails
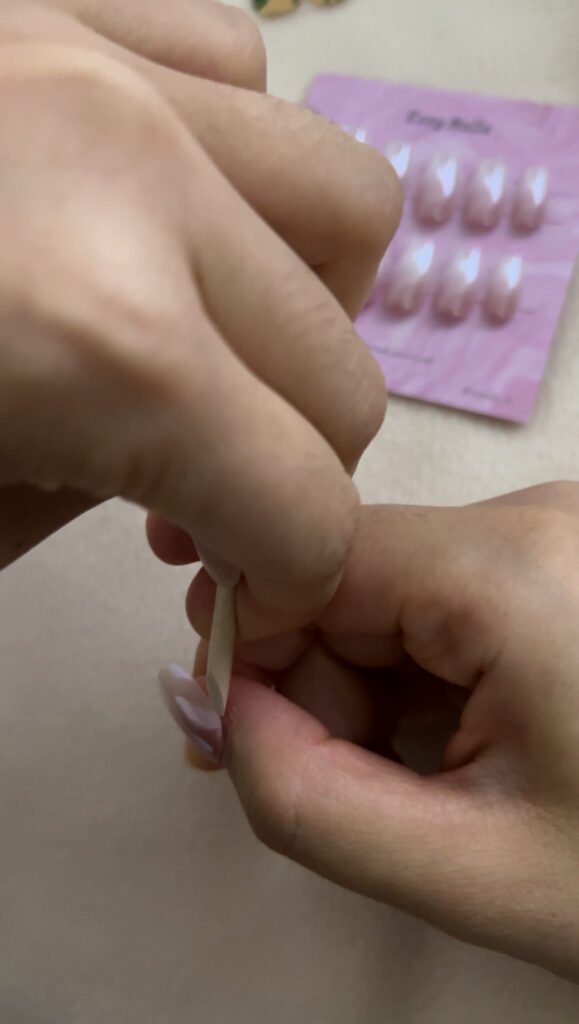
When you’re ready to remove the nails, gently slide the wooden stick under the edges of the press-on nail, between the adhesive and your natural nail (not between the nail and the glue). Carefully work your way around the nail to lift it off. Once removed, you can peel away any leftover adhesive from the press-on nail, allowing you to reuse it in the future.
Tutorial about Press-on Nails
1.Measure Your Size

2.Apply on Press-on nails
3.Remove Press on nails
3.1 Gently use a wooden stick to lift the press-on nail out.
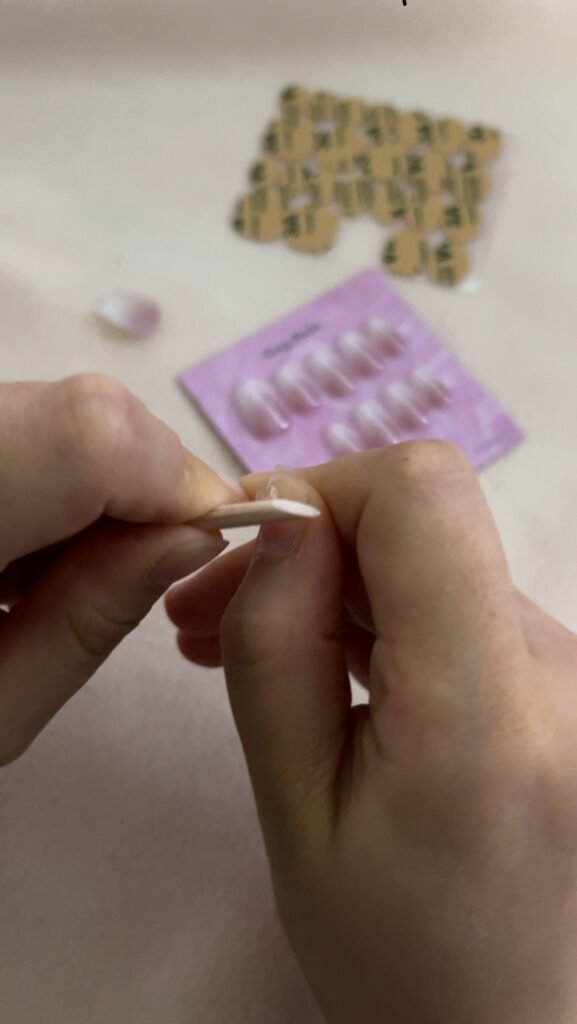
3.2 Clean the adhesive from your finger and press-on nail.
No, you don’t need to. It feels similar to salon manicures, but it’s much more convenient to wear. Your daily activities won’t be affected. However, when typing, it’s best to use your fingertips.
After applying them, they are very secure, and after 2 hours, you can even open bottle caps with them. They can last for more than 10 days.
They can be reused more than 3 times.
Yes, the tool kit is included with each set of press-on nails. It comes with 3 adhesive tabs and a wooden stick, allowing you to reuse the nails up to 3 times.
Our adhesive tabs will not damage your nails during the normal removal process (they only remove the oil layer from the surface of the nail). They do not cause any allergic reactions.
No reviews to show

